 |
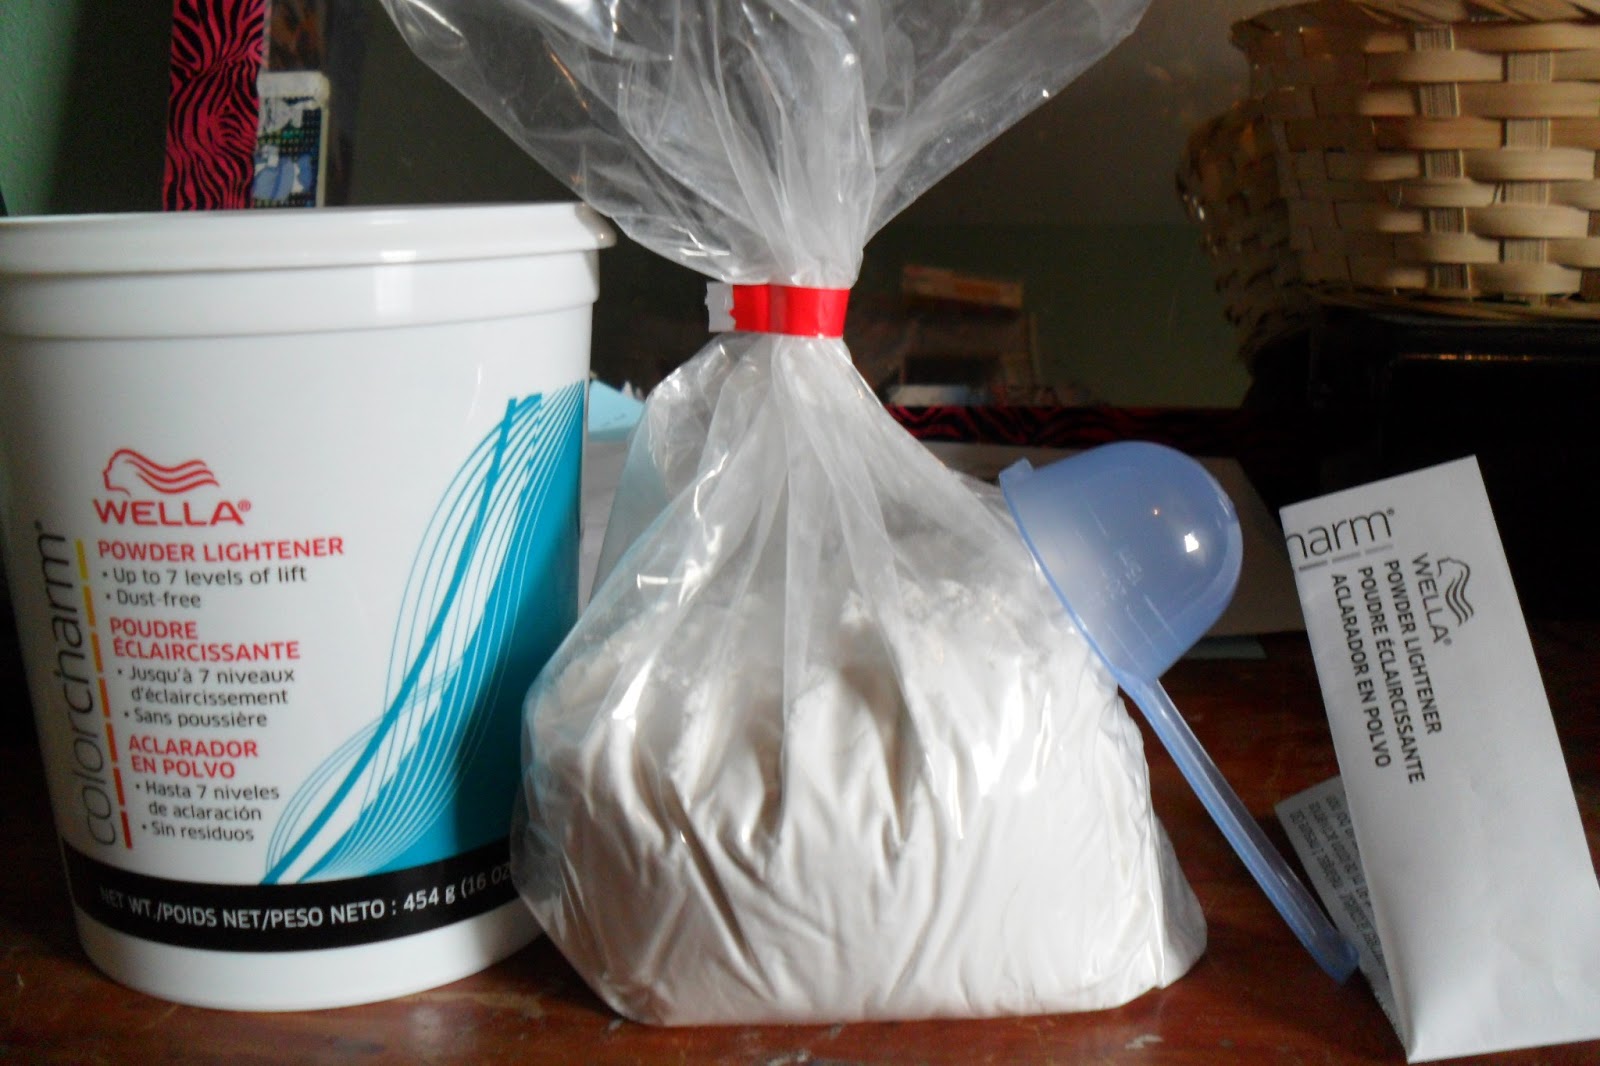
| Get your basic bleaching supplies ready. I'm using Wella Color Charm , its plenty of bleach necessary for my long hair and it cost about 20 dollars at Sally's Beauty Supply, I also decided to purchase the 40 volume creme developer since its the strongest. Don't forget your mixing bowl and brush, this is the first time I will be using this type since I want to be more 'professional' Everything came out to about $40 bucks! Yup I still have left over bleach tho |


Start mixing with the brush! That's what It looks like when its thoroughly mixed, remember not to leave any clumps of unmixed powder. ( The brush felt very stiff, maybe because it was kinda cheap)

Hold on to the tip of the strand when you start applying the bleach to avoid the piece from falling apart. Add it through out the whole strand of her. Submerge the strand in bleach.

Make sure to keep track of the time! (yup i have cricket, it goes to show how poor i really am and why this experiment must go on)

Ever so often keep re- touching the strand with bleach. I noticed that once bleach dries it goes back to its powdery form, so to get better coverage I'm making sure that I'm keep it wet. (get your mind outta the gutter)

Okay, since my hair was dyed black I know its going to take more than one bleach-ing to get to my goal. (honey brown, dark blonde). So I'm re-bleaching.

This is how it started looking before I rinsed the bleach off. Its important to really wash off the old bleach and use some shampoo and conditioner .

I separated the hair so that it could dry easier, as you can tell its pretty orangey. Now since I have no patience Im going to lightly blow dry the hair.

How it looks like when its dry.

I cut two strands of my hair so that I can show you guys the before and after.

Poor hair, This is bleaching time number two!!

wash rinse and repeat..ummm this looks a lot like the first time i bleached , doesn't it ? oh well lets get ready for part 3 of this three part series

while rinsing the hair I noticed that It had a rubbery texture, like I can easily break the hair off.

After it dried I decided to compare it side by side with my current hair color. What a difference!! Now since indoor light can be a bit dark Lets see what it looks like outside.

Almost blonde ..almost...lets compare side by side again

Tah-Dah and we are done with the DIY strand test!
NOTICE: This is just a strand test on my own hair, when I did my whole head of hair I added toner after the third bleaching and of course I didnt bleach my hair three times that same day, I waited 24 hours between each bleaching . After toner I added hair color in dark blonde. I will soon be adding pictures of my new hair color and some of the pictures of the whole thing!! Make sure to comment if you have any questions!! Please show your support.
No comments:
Post a Comment